Before you install your new ceiling fan, you should make a few preparations.
- Check the assembly instructions: Are all the components present?
- Have a ladder ready.
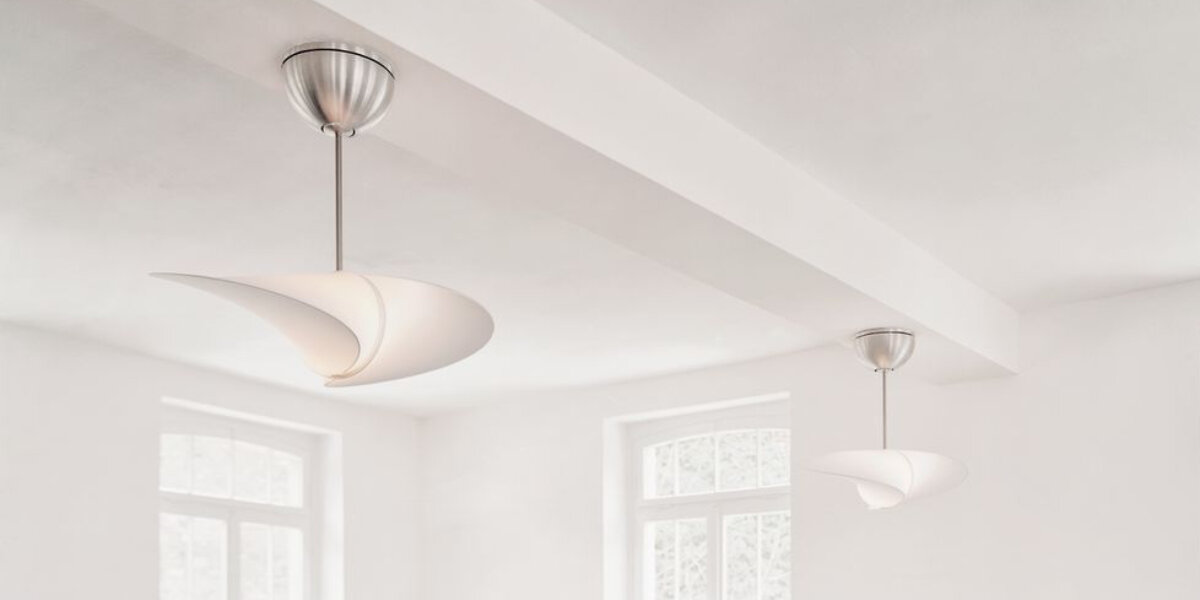
- Do a little room planning. Where should the ceiling fan hang? It is important that the fan should be placed in the centre of the room.
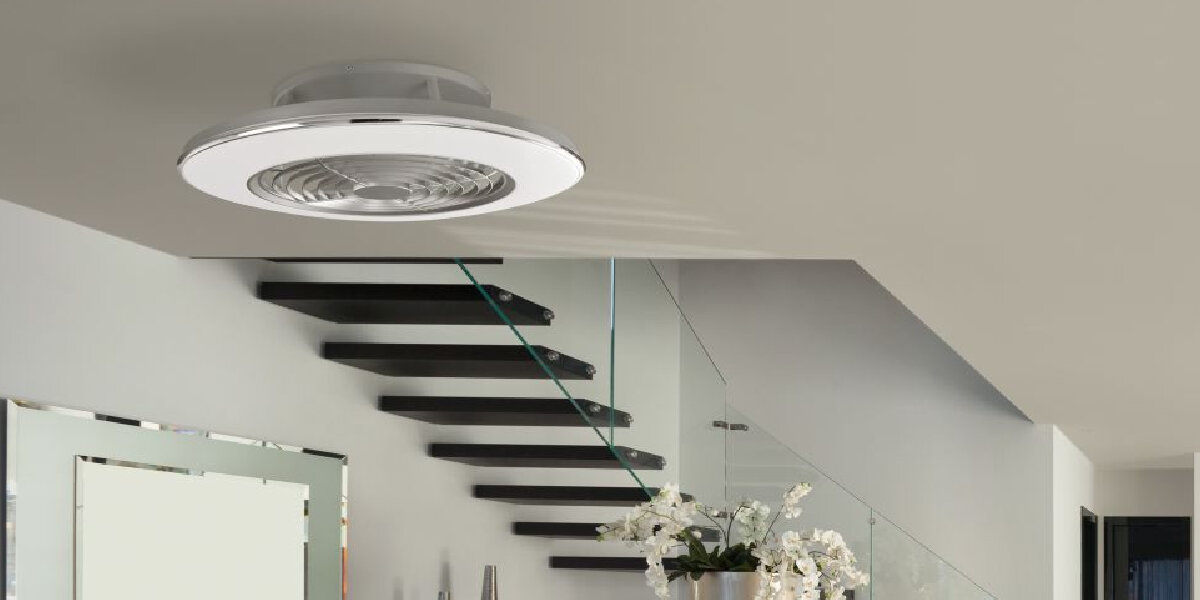
- But your ceiling light is hanging there? No problem: there are also fans with light. Alternatively, you can use a different power supply and mount the ceiling fan at a suitable distance from the light.. Keep the minimum distance from walls and objects as specified in the manufacturer's instructions. Each ceiling fan may have its own specifications.
- Turn off the power and perform a test: Is the power really off?
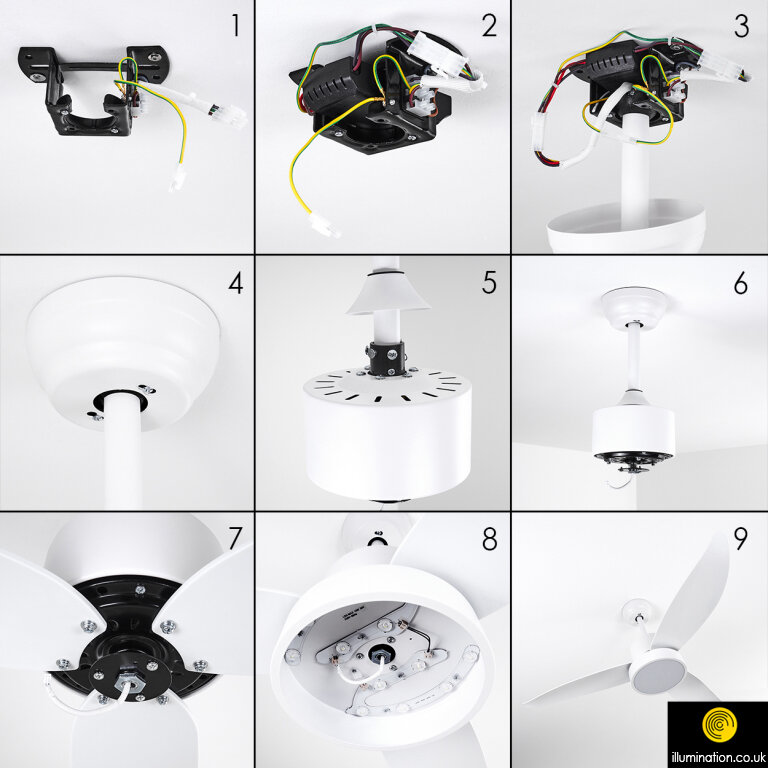
- Installing a ceiling fan